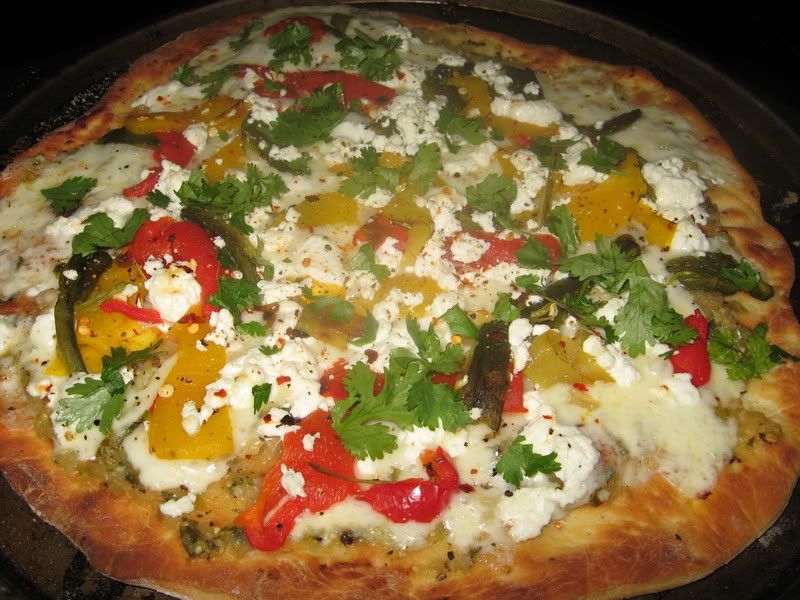
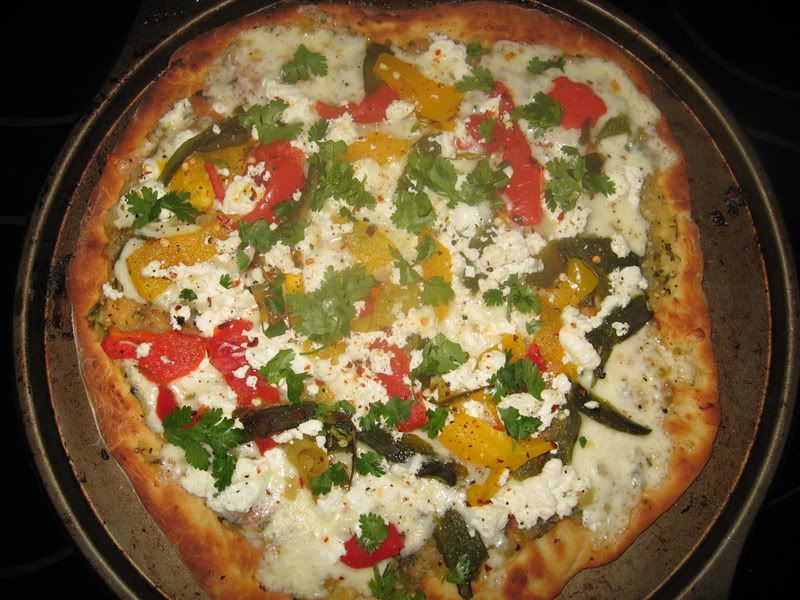
Roasted Chile and Garlic Pizza with Goat Cheese and a Spicy Tomatillo Sauce
Posted by Mike at 9:04 PMThis tomatillo sauce is one of the single best concoctions I've ever made in terms of both flavor and versatility. This stuff can be served as a salsa, pasta sauce, and made into countless other dishes.
Ingredients
-Pizza dough (see below)
-Tomatillo sauce (see below)
-Roasted chiles and roasted garlic (see below)
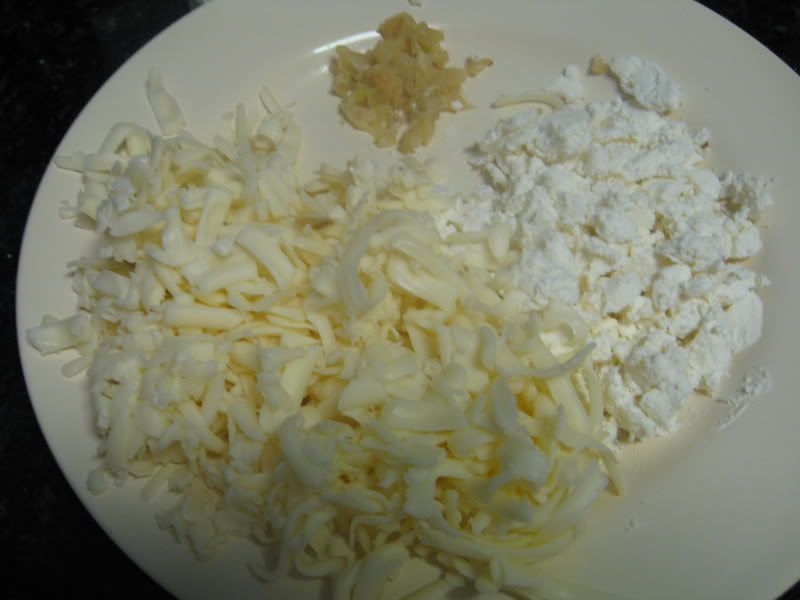
-4 to 6 ounces of good quality goat milk cheese, crumbled
-8 ounces of good quality Monterey Jack cheese, coarsely shredded
-Coarsely chopped cilantro for garnish
Dough for crust:
-2¼ cups high-gluten (bread) flour plus approx. ½ cup for kneading
-1 tsp kosher salt (or ¾ tsp table salt)
-1¼ tsp (half of a standard package) active dry yeast
-¾ cup warm (approx. 105 degree) water plus more as needed
-¼ cup Extra Virgin Olive Oil
-Pinch of cane or “raw” sugar (or small drizzle of honey)
Mix 2¼ cups flour with kosher salt in a large bowl (or, if using a stand mixer, in the mixer bowl). If combining by hand, make a well in the center of the flour.
Bloom yeast in ¾ cup of warm water and sugar/honey for approximately 5 to 10 minutes or until light bubbles appear on the surface. Pour yeast/water mixture and olive oil into flour and mix by hand (or with a stand mixer with dough hook) vigorously until dough begins to become slightly elastic and sticky. Add more water as needed until dough consistency is tacky enough to allow it to stick to the bottom while still pulling away from the sides of the bowl.
Turn dough out onto cool, smooth surface (stone countertop or large stainless steel cookie sheet, preferably) generously dusted with flour. Knead for 5-10 minutes or until gluten is well-developed. (Dough should be tacky but no longer sticky and have noticeable resistance when stretched.)
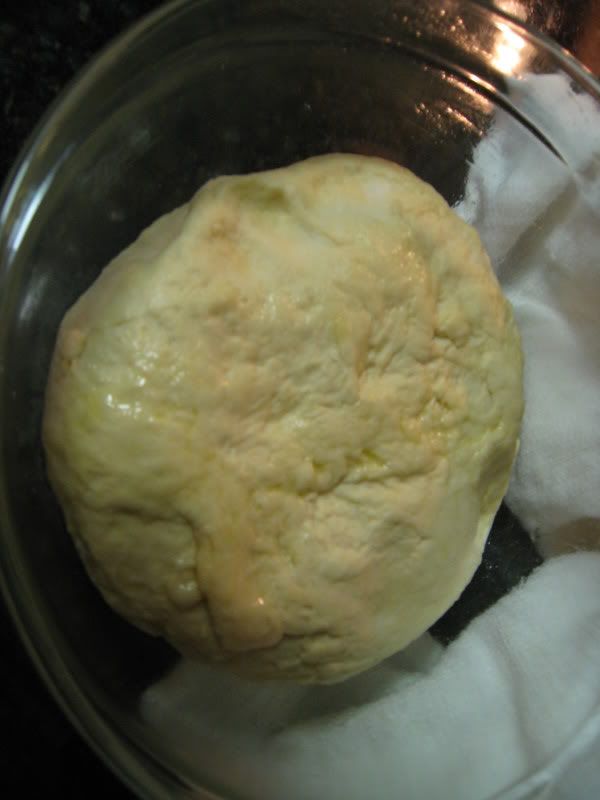
Shape dough into a ball and place in a well-oiled glass bowl covered with a damp tea towel. Place in a warm area of the house (microwaves often work well for this, turned off of course) for about an hour or until the dough has doubled in size. Punch the dough down, cut into two equal portions, and shape each portion into a disc. Wrap tightly in plastic and place in refrigerator for at least an hour to rest. One portion is enough for one large thin-crust pizza. The other portion will keep for a week or more if wrapped tightly and placed in a resealable bag or foil.
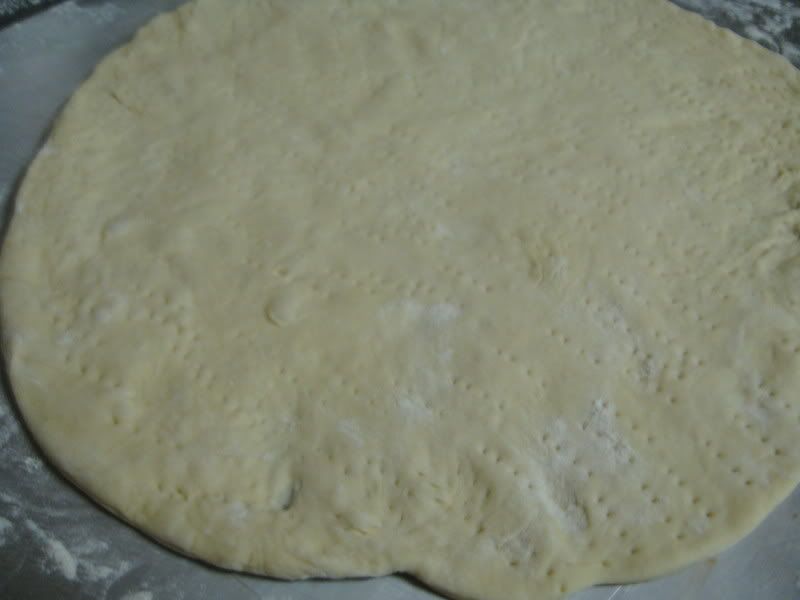
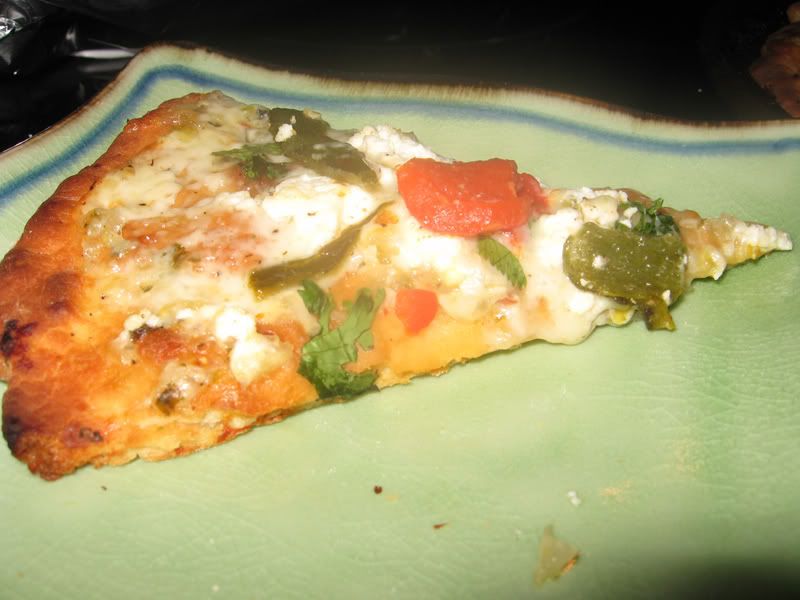
When it comes to shaping your pizza dough into a crust, you're on your own. If you are able to work the dough well enough to do the iconic “dough toss” and shape it in the air, go for it. For those of us who are not quite so dexterous, a good rolling pin can work wonders. I prefer thin, crispy (but still slightly chewy) crust, so I roll the dough out to approximately 1/8th of an inch thickness and then dock it with a fork. This allows any excess gas to vent out, thus preventing the crust from bubbling up during cooking. At this point you have the choice to either pre-bake the crust (by whichever method will allow you to get it the hottest, 500+ degrees is preferable), which I prefer, or to simply layer the ingredients on top of the raw dough and bake it all together. For this particular recipe, I would recommend pre-baking the crust for approximately 5 minutes, as the toppings and the sauce are already cooked and you really only need to get the cheese melted and slightly browned.
Spicy Tomatillo Sauce
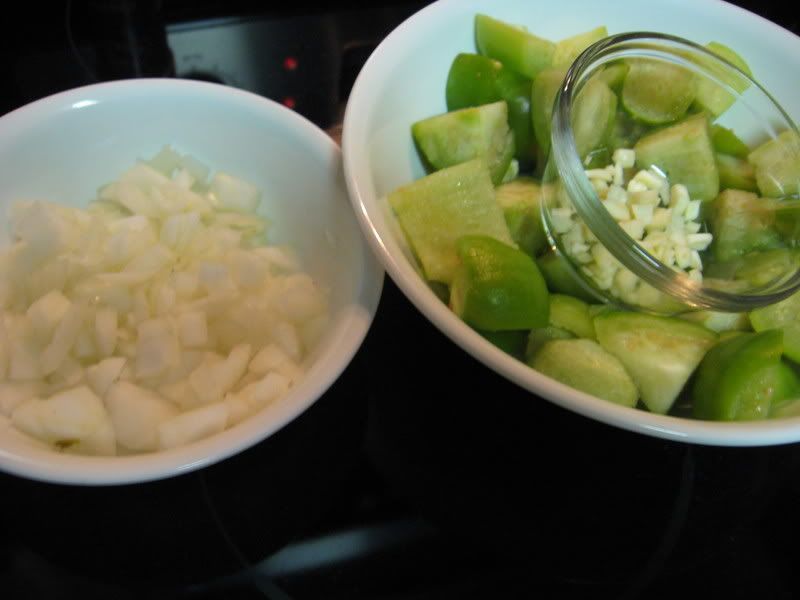
-½ lb Tomatillos, husks, stems, and seeds removed, quartered
-½ cup coarsely chopped sweet onion
-3 cloves fresh garlic, minced
-1 tbsp olive oil
-¾ tsp Kosher salt
-½ tsp freshly ground black pepper
-¼ to ½ tsp crushed red pepper flakes
-1 serrano chile, seeded and minced
-2 tbsp Extra Virgin Olive Oil
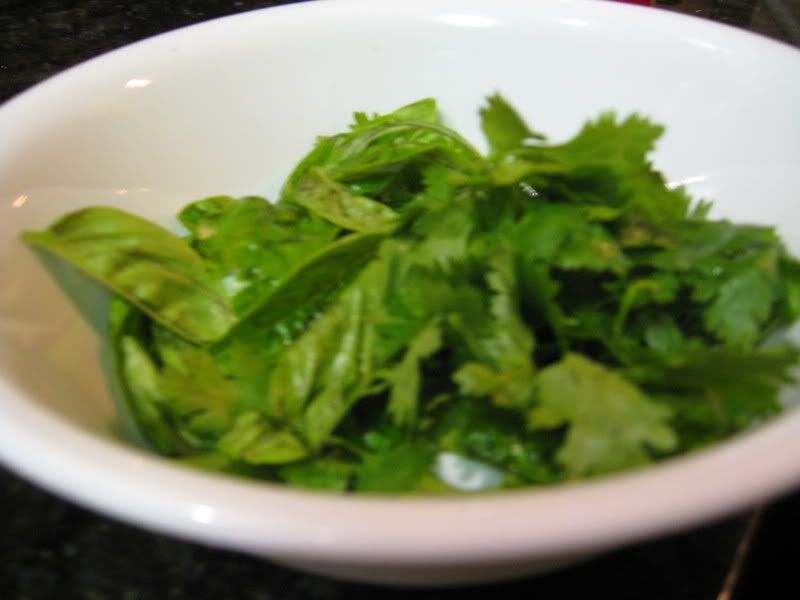
-Handful fresh cilantro and fresh basil, chiffonade
-Large pinch cane or “raw” sugar (optional, but very helpful in cutting the acidity of the tomatillos)
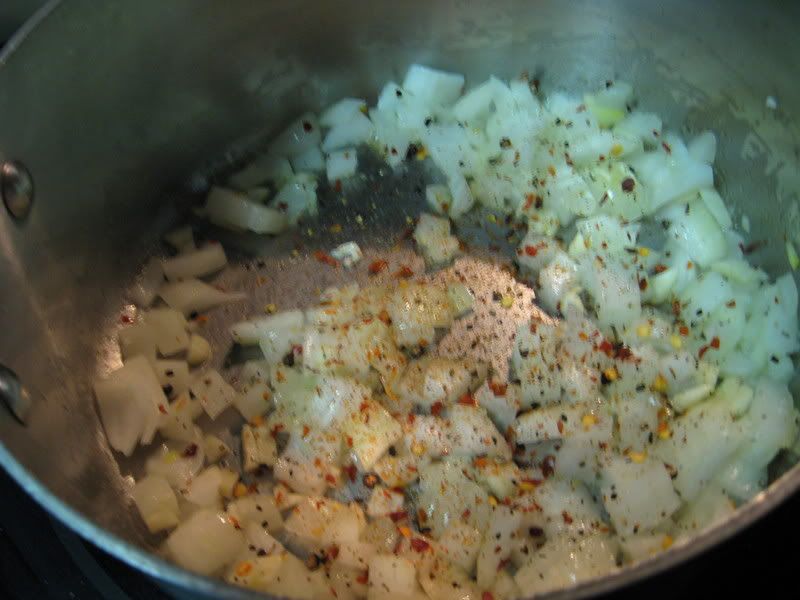
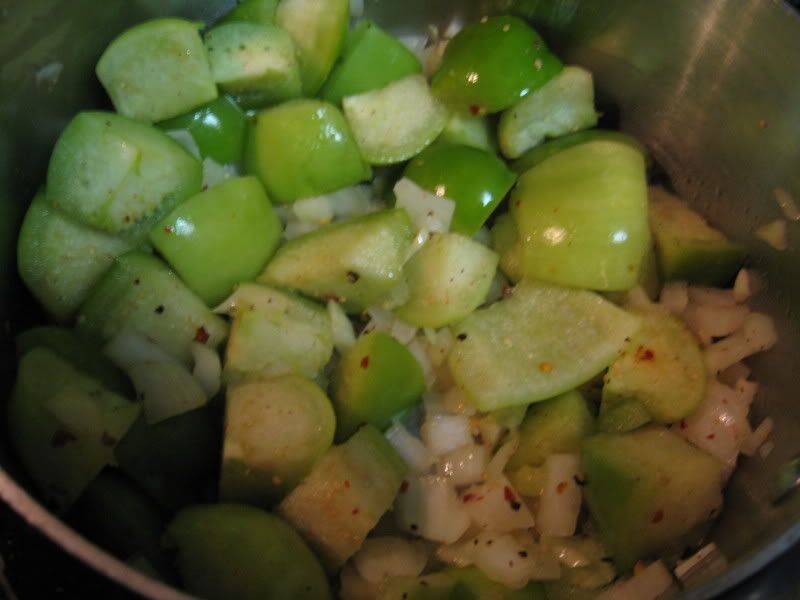
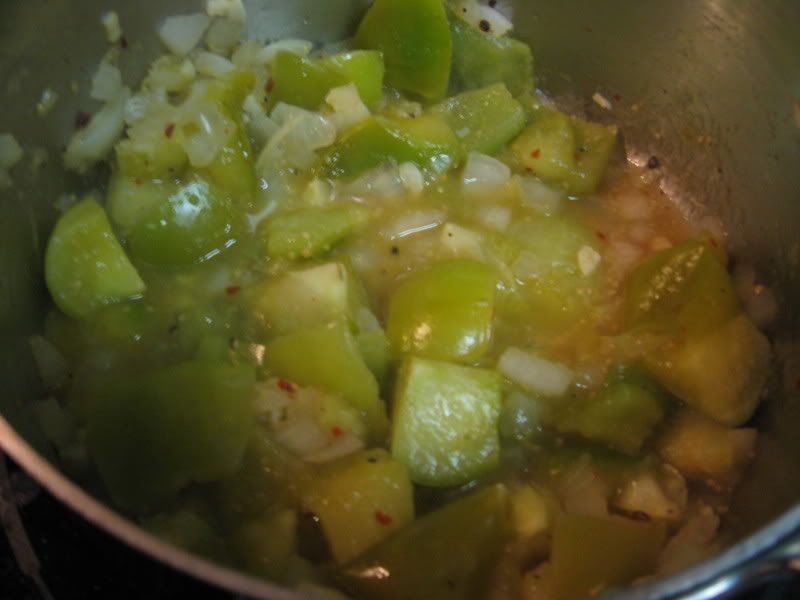
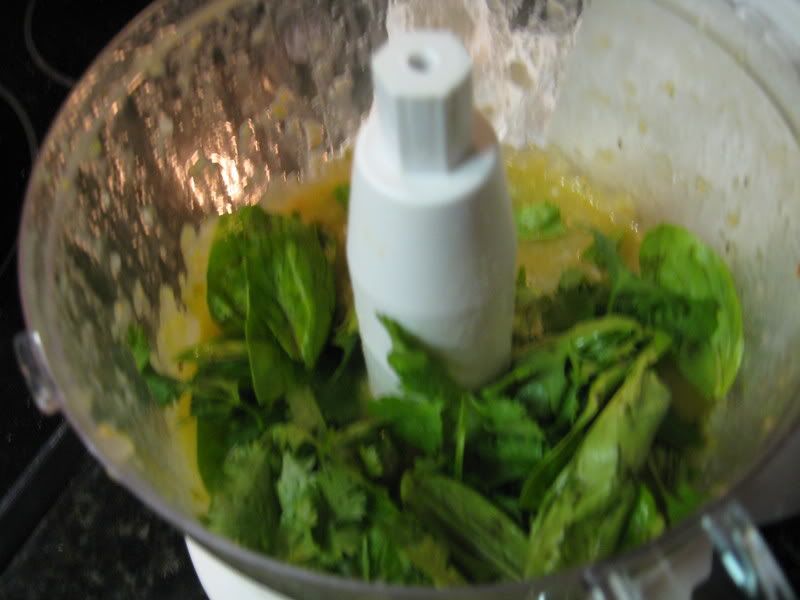
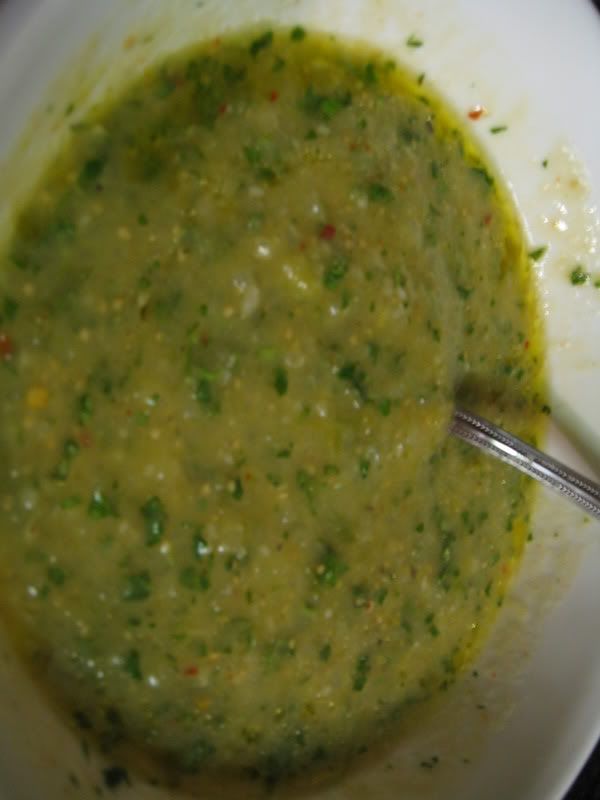
Heat olive oil over medium low heat. Add onions, serrano and salt, then sweat for approximately 4 to 5 minutes or until onions become translucent and tender. Add tomatillos, red pepper flakes, and black pepper, continuing to cook 7 to 8 minutes or until tomatillos are very soft. Remove from heat and allow to cool before pureeing in a blender or food processor until smooth. Add herbs and sugar and pulse just until finely integrated into sauce. Transfer to a non-reactive bowl, stir in olive oil, cover tightly and place in refrigerator for at least one hour (overnight is preferable) to allow flavors to meld.
Roasted Chiles and Garlic
-2 bell peppers, orange, red, and/or yellow preferable
-3 to 4 Jalapeno chiles
-1 Anaheim chile
-1 head of garlic, top quarter removed
-1 tbsp.olive oil
-Kosher salt and cracked black pepper to taste
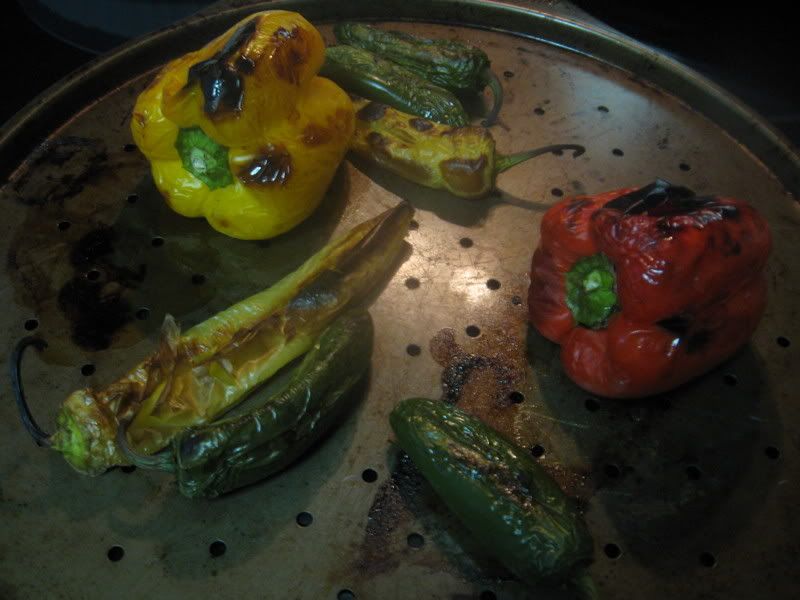
To roast chiles, use either a direct-flame approach (over a gas range turned to “high” or a hot grill) or simply use your oven's broiler function. Roast until skins are black, then place into a bowl and cover tightly with plastic wrap. Let sit for 5 to 10 minutes or until skins are loosened and chiles are cool enough to handle, then remove skins (avoid using running water for this). Remove stems and seeds as well as the membrane from the bell peppers. You may also remove the membrane from the Jalapenos and Anaheim if you are aiming for a lightly less spicy final product, although the difference will be negligible after roasting. Tear or chop into appropriately-sized pieces and set aside.
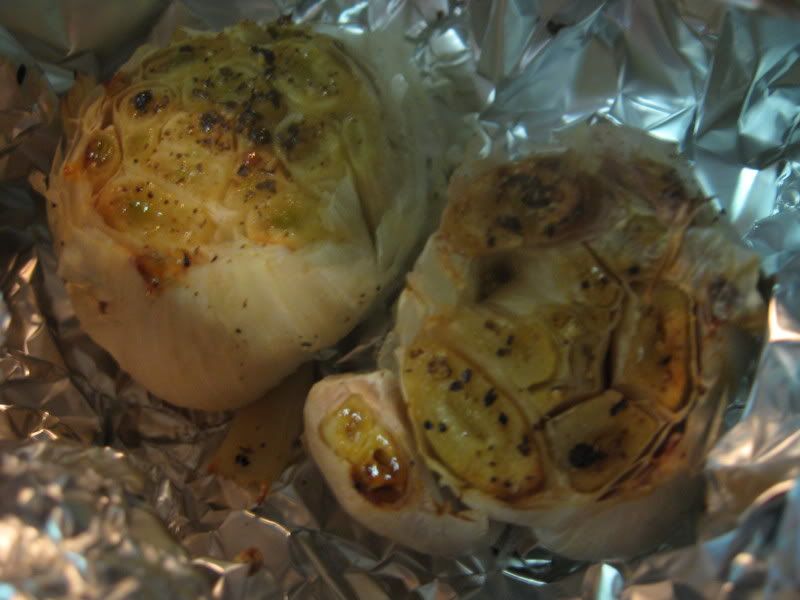
To roast garlic, place whole head with top portion removed, drizzled with oil, seasoned lightly and wrapped loosely in aluminum, into a glass baking dish. (A muffin tin works well if roasting multiple heads of garlic at once.) Bake at 450 to 500 degrees for 25 to 35 minutes or until soft and golden brown. Remove from oven and rest until cool enough to handle, then remove cloves by squeezing out. Reserve 5 to 6 cloves (less or more depending on taste) and slice very thinly, then set aside.
Pizza Construction
This is the part where you will want to improvise a bit, as not everyone has access to a pizza peal/stone and a wood-burning or brick oven. I originated this recipe using a standard convection oven set to 550 degrees and a large stainless steel sheet pan and it still turned out great, so don't despair if you don't have all the fancy gadgets.
Start by preheating whatever surface the pizza will be cooked on in your oven (or grill) at the highest possible temperature available to you. You'll want the surface to be rocket hot to give you the best possible texture on the crust.
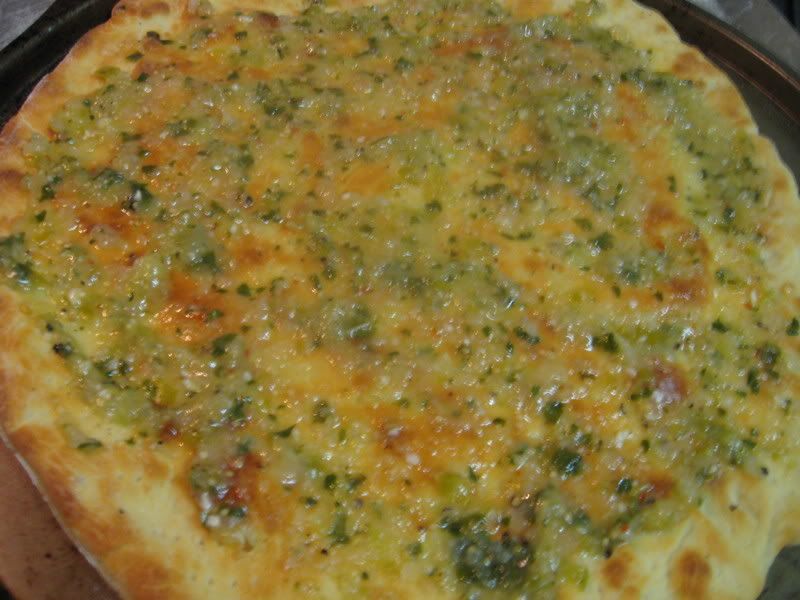
Dust your pizza peal (or, in my case, another sheet pan) and place your formed dough crust onto it. If you are looking for a thin, crispy crust, I will again recommend docking the crust with a fork, lightly brushing with olive oil, and pre-baking for 5 or so minutes prior to topping. IF YOU DID NOT PRE-BAKE, brush a light coating of extra virgin olive oil onto the crust. Top with approximately ½ to ¾ cup of tomatillo sauce. Try to avoid the American method of dousing the pizza crust in a gallon of sauce – the perfect pizza has a good balance of all ingredients.
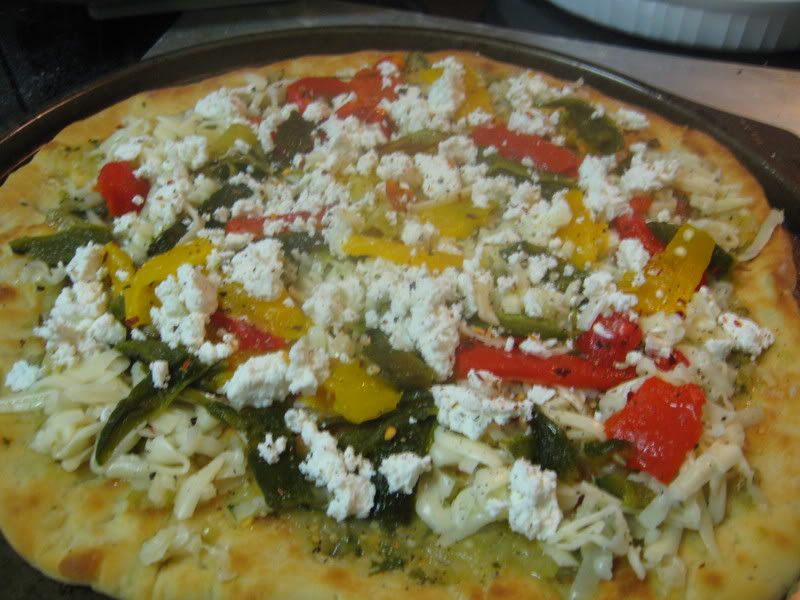
Place your sliced roasted garlic on top of here and don't be shy, as roasted garlic has a much more mellow flavor than fresh. Top with an even layer of Monterey Jack, then evenly distribute the roasted chiles around the surface of the pizza. Evenly dot the top of the pizza with the goat cheese. As a final touch prior to baking, put a few grinds of coarse black pepper and (if you like a lot of heat) sprinkle with a few more red pepper flakes.
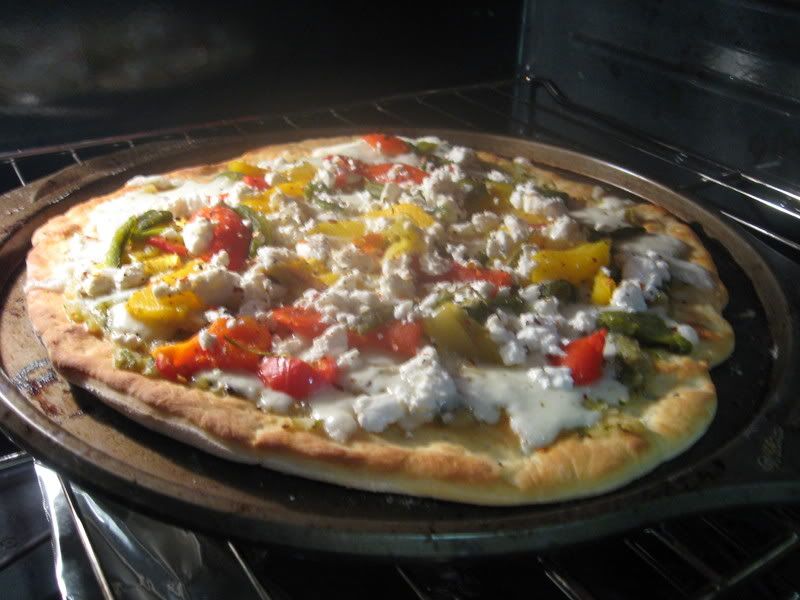
Place into oven and bake 5 to 7 minutes (possibly more depending on how hot your oven is and whether or not you pre-baked the crust) or until cheese is melted and slightly browned and crust is crispy. Top with cilantro for garnish, allow to cool for 5 minutes, and enjoy!

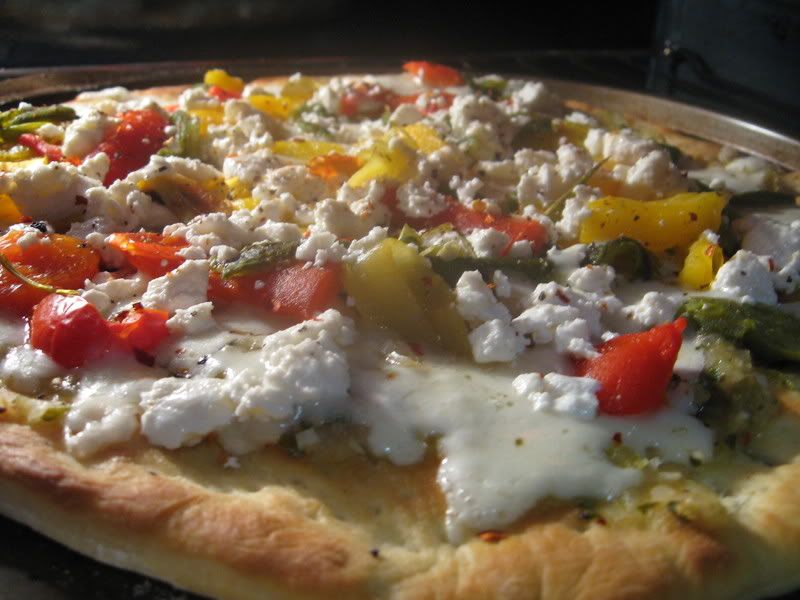
Man, that made my mouth water! Good thing its almost time for lunch.